
So you're really new to wood finishing and wonder where you could start? Follow our simple Step-by-Step Guide to apply wood finish and get a beautiful, long lasting finish for your wood work. Let's get started!
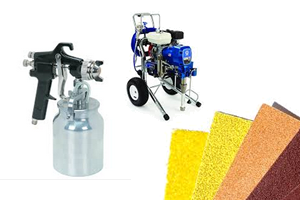
1. Getting ready the suppliesBefore starting your wood finishing project, it is important to have all required supplies ready. We have listed the tools frequently used in wood finishing projects, which does not include all Woodmax Paint supplies needed.
Checklist of Tools
|
Notes
|
2. Inspect & preparing your projectStart your wood finishing project by making a thorough inspection of the wood. Take note of any holes, cracks, or uneven surface that need to be repaired. It is best done prior to staining and finishing your project to ensure a smooth application.
Filling up the holes and cracksUse Woodmax Paint Wood Filler to fix small holes and cracks in the wood, for severe condition use Wood Putty to fill up the holes and cracks.
Preparing the surfaceThe critical step in preparing the surface is to carefully sand the wood. Sanding the wood is the key in creating a smooth wood surface, it ensures that all old coatings and paints are thoroughly removed; it removes any surface glaze which can prevent stain or finish from entering the pores. After final sanding, the wood is ready for the first coat of wood finishing product (sealers) to be applied.
|
Notes

|
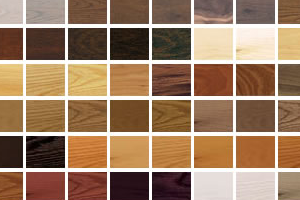
3. Applying StainWood stain color can change both the color and highlight the grain pattern of any interior wood. To prevent disappointment, it is important to first test any stain color you are considering on an inconspicious spot to make sure that the color of the stain produces the color you desire.
Oil-Based vs Water-Based StainsWhen making your decision it is important to consider the type of brushes (natural bristle or synthetic bristle brushes). As water-based stains must be applied with a synthetic-bristle brush while oil-based can be applied using both.
Water-based stains are lower in odor, generally dry faster and easy to clean up using soap and water. While oil-based stain give you a longer working time which enable you to stain floors, cabinets and doors without the worry of dried lap marks, mineral spirits or paint thinner are needed to clean up for oil-based stains. Both are available in wide variety of colors. Appearance difference in Oil and Water StainsOil-based stains gives you a fuller, richer and deeper color. While water-based stains usually gives you a crystal clear and beautiful lustre effect color. Both have their own type of personality, so try them both out before deciding which to use for your project. You'll probably use both in future for your future projects depending on the look that you want.
|
Notes
|
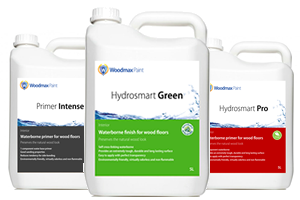
4. Applying the wood finishIt is critical to apply a clear protective finish (topcoat) to your wood finishing project, whether you stain it or not, the topcoat gives it richness and depth while protecting it from knocks, scrapes and the weather.
Oil finish, Water finish or both?Before making a decision, it is important to understand the different characteristics of each type. Oil-based wood finish turns slightly amber, which warms up your wood's color. Just a few coats, a hard and durable film is formed. The drying time is slower and requires a longer waiting time between coats. It can be clean up using mineral spirits.
Water-based finishes looks like milk in the bottle but dries to form a crystal clear layer. It is best use for preserving a wood's natural color, it dries quickly and usually lower in odor than oil-based finishes, but still requires good ventilation during application. It can be clean up using soap and water. |
Notes
|
