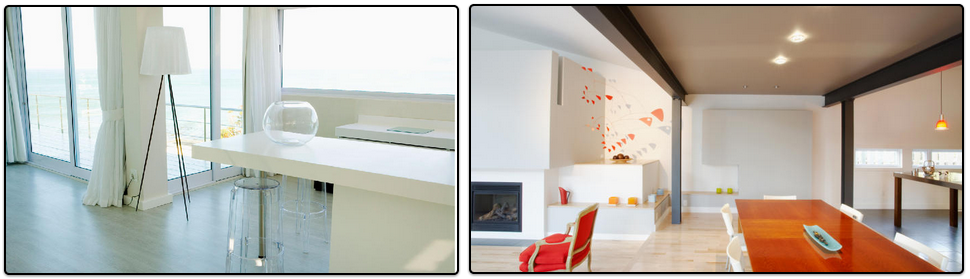
A before-and-after comparison. Photo: Sharon Cavanagh (courtesy of Kathy Price-Robinson and Kitty Bartholomew)
|
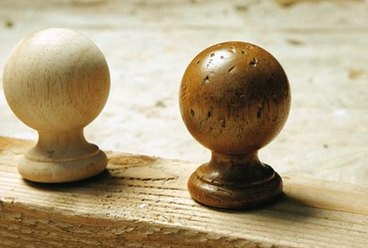
Distress Wood Look
credits to DIY Life
When it comes to wood, there's just something about an agred look that's oh-so appealing. And it's a look you can accomplish with a little DIY magic -- even if your wood furnishings are brand new.
Wood harvested long ago is stronger and has a tighter grain that most wood grown today. But say you've scored brand new wood furnishing -- mantel, a book case, or a curtain rod, as discussed here. Raw wood furnishings are inexpensive, but you can give them the look of a valuable antique. You can actually make the wood look old and weathered if distress it by hand. I worked on this project with Kitty Batholomew, one of the original stars of HGTV. Kitty bought inexpensive, unfinished wood curtain rods for her classy silk draperies -- but what she really wanted were rods that had a mellow, aged look, which would have cost alot more. Here's what kitty did for her own curtain rod project; this photo gallery demonstrates the distressing of the curtain rod's brackets and finials. But the same method can be used on any type of wood furnishing. For larger project, like a bookcase or a mantle, increase your supplies accordingly. |
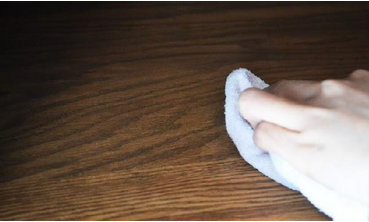
Achieved using Woodmax Paint Water Base Stain and Woodmax Paint Acrylic Finish
|
Staining on Oak Hardwoods, Achieving Dark and Warm ColorHaven't started your first staining project? You could do so easily by using Woodmax Paint Water Base Stain
It's been quite some time we last handle Oaks, Oaks have really nice grains, and is easy for staining. The end result is a well toned color, with a natural warm to it. Make sure you always stir the stain evenly before applying on. We first tested the color on a small piece of plywood we found at the side, this is just to make sure that it's the color we want. Then we lightly sanded the wood using a really fine sandpaper, because most Oak Hardwoods are probably already sanded down before. Then we brush and wiped the wood to clear off all dust settled by the sanding. Applying the stain was the easiest step, but make sure you're using the right kind of brush. Synthetic Stain Brush would do a good job applying the stain evenly, you can also use clothes and apply by rubbing the stain on it. Be generous when applying the stain as you will be wiping off the excess later in the direction of the wood grain. The end result was really good was you can see from the picture. Lastly, we chose Woodmax Paint Acrylic Finish as we didn't want any change to the colors, just 2 coats of brushing to the top and it's done. You could always apply 3 coats if you wish to have more protection. |
|
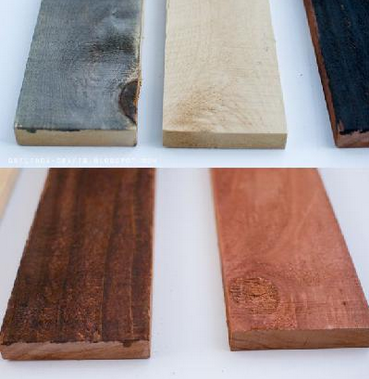
How to Age Woodcredits to Craftaholicsanonymous.net
"I recently made this sign out of wood from our 20+ year old gate. Something about the weathered wood gives the piece extra character. There's one problem- our old gate only has so much to give. I came across a tutorial for aged wood for home repair purposes at Xtreme Restoration. It works like a charm for crafty projects too. I recently used this technique on this sign."
Please visit the site if you need the pictures |
House Inspiration Looks